
Coffee cupping is the standardized method professionals use to evaluate coffee quality, and it’s surprisingly accessible for home enthusiasts. This systematic approach to tasting helps you develop a refined palate, understand flavor nuances, and appreciate the complexity that makes each coffee unique. Whether you’re selecting beans for your café or simply want to deepen your coffee appreciation, cupping transforms casual drinking into intentional exploration.
Understanding the Cupping Process
Professional cupping follows a precise protocol developed by the Specialty Coffee Association. The process involves grinding coffee to a specific coarseness, steeping it in hot water, and evaluating aroma, flavor, and mouthfeel through structured tasting. This standardization ensures consistent evaluation across different coffees and locations. The beauty of cupping lies in its simplicity—you need minimal equipment but maximum attention. Unlike brewing methods that emphasize technique, cupping focuses purely on the coffee itself, removing variables that might mask or enhance certain characteristics.
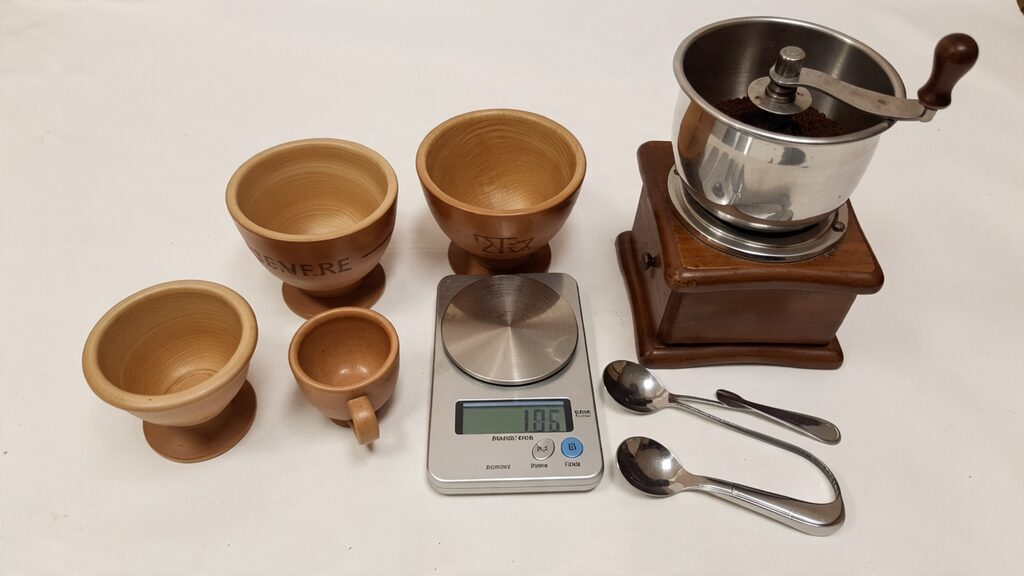
Essential Equipment for Home Cupping
Basic Setup Requirements
You’ll need cupping bowls or wide-mouth glasses, a coffee grinder, digital scale, timer, and cupping spoons or soup spoons. Professional cupping bowls hold 5-6 ounces, but any wide, shallow bowl works well for beginners.
Water Quality Considerations
Use filtered water heated to 200°F (93°C). Water quality dramatically affects taste—chlorinated tap water can mask subtle flavors, while mineral content influences extraction. Consistent water ensures you’re tasting the coffee, not the water.
Grinding and Measurement
Grind coffee to medium-coarse consistency, similar to sea salt. Use a 1:18 coffee-to-water ratio—typically 8.25 grams of coffee to 150ml of water. Grind just before cupping to preserve aromatic compounds that dissipate quickly after grinding.
Step-by-Step Cupping Protocol
Preparation Phase
Arrange your cupping bowls and label each coffee clearly. Grind each coffee separately, placing grounds directly in their designated bowls. This setup allows you to compare multiple coffees simultaneously, which is essential for developing your palate.
Dry Fragrance Evaluation
Before adding water, smell the dry grounds in each bowl. Note the initial aromas—are they floral, nutty, chocolatey, or fruity? This dry fragrance often differs significantly from wet aroma and provides valuable insight into the coffee’s character.
Wet Aroma Assessment
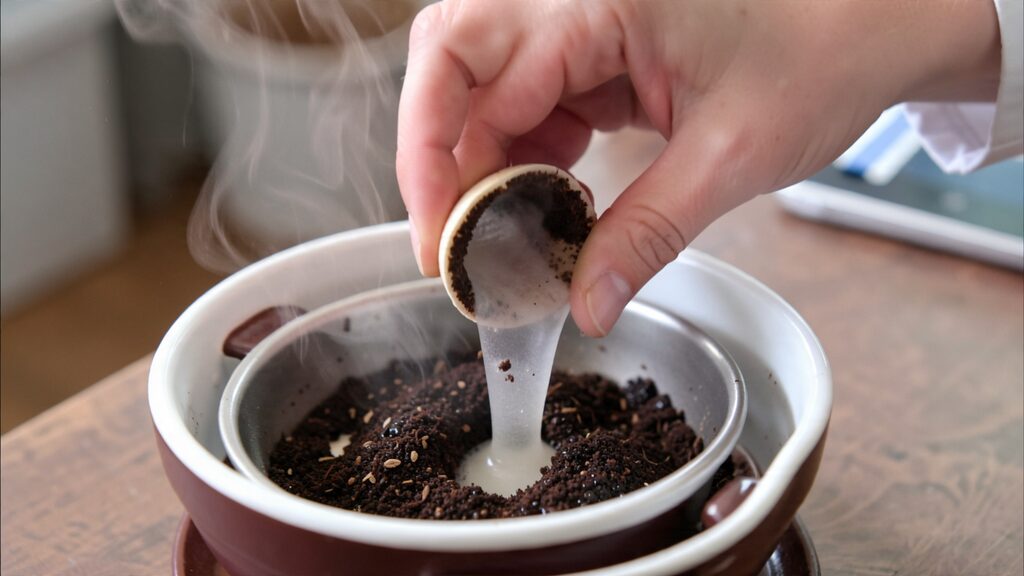
Pour hot water directly onto the grounds, starting your timer. After four minutes, use your spoon to break the crust that forms on top. As you break through, lean in and inhale deeply—this moment releases the most intense aromatics. The wet aroma is often more complex and pronounced than the dry fragrance.

Tasting Technique
After breaking the crust, remove any remaining grounds and foam from the surface. Wait until the coffee cools to around 160°F before tasting—this temperature allows you to evaluate flavors without burning your palate. Use your spoon to slurp the coffee, aerating it across your entire palate.
Developing Your Palate
Identifying Flavor Notes
Start with broad categories—is the coffee fruity, nutty, chocolatey, or floral? Gradually refine your descriptions. Fruity might become “citrusy,” then “orange-like,” and eventually “blood orange.” This progression from general to specific develops naturally with practice.
Understanding Acidity and Body
Acidity refers to brightness and liveliness, not sourness. High-quality acidity feels crisp and pleasant, like biting into a fresh apple. Body describes mouthfeel—light coffees feel tea-like, while full-bodied coffees coat your palate like cream.
Recognizing Balance and Finish
Balance considers how acidity, sweetness, and bitterness interact. Well-balanced coffees don’t have any single element overpowering others. The finish is what remains after swallowing—does the flavor linger pleasantly or disappear immediately?
Creating Your Cupping Environment
Optimal Conditions
Cup in a quiet, well-lit space free from strong odors. Avoid wearing perfume or cologne, and don’t cup immediately after eating strongly flavored foods. Your palate needs to be neutral and focused.
Note-Taking System
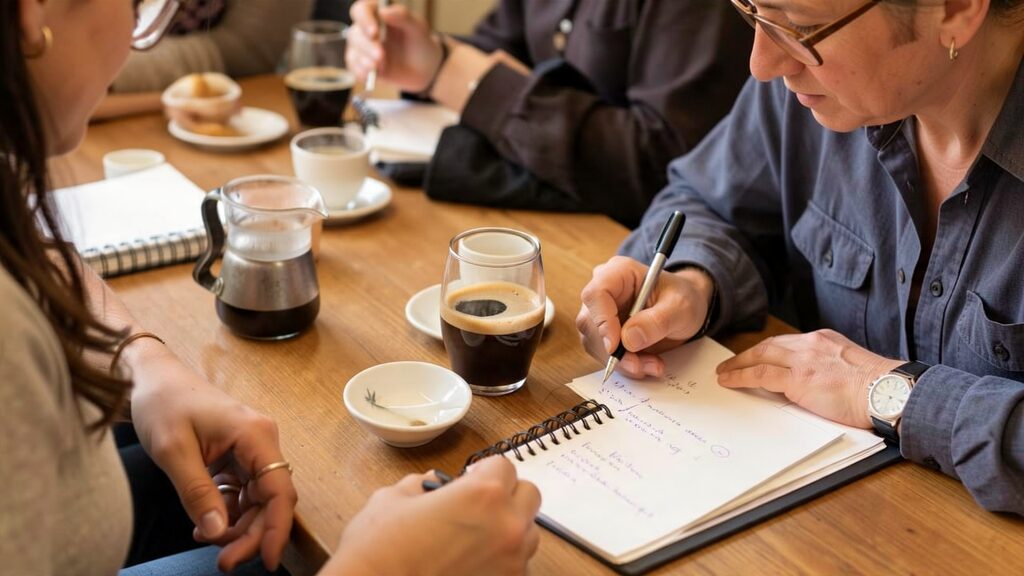
Develop a consistent scoring or note-taking method. Many cuppers use the SCA cupping form, rating attributes like aroma, flavor, acidity, and overall impression. Even simple notes like “bright, citrusy, medium body” help track your preferences and observations.
Comparative Tasting
Always cup multiple coffees together when possible. Comparison reveals subtle differences that might go unnoticed when tasting individually. Try coffees from different regions, processing methods, or roast levels to understand how these variables affect flavor.
Common Cupping Mistakes to Avoid
Temperature Errors
Don’t taste too hot or too cold. Scalding temperatures mask flavors, while overly cool coffee can taste flat and lifeless. The sweet spot is between 140-160°F for optimal flavor perception.
Palate Fatigue
Limit cupping sessions to 4-6 coffees maximum. Your palate becomes less sensitive with extended tasting, leading to inaccurate evaluations. Take breaks between coffees and cleanse your palate with plain water.
Bias and Expectations
Try blind cupping when possible—knowing a coffee’s origin or price can influence your perception. Let your palate guide you before revealing details about each coffee.
Building Your Cupping Practice
Start with weekly cupping sessions featuring 2-3 different coffees. Focus on one attribute at a time—spend one session concentrating on acidity, another on body, and so forth. This targeted approach accelerates learning and prevents overwhelm.
Join local cupping groups or attend roastery cupping sessions. Learning alongside others provides different perspectives and accelerates your development. Many coffee shops offer public cuppings that welcome beginners.
Applying Cupping Knowledge
Your cupping skills directly improve your daily coffee experience. You’ll better understand which brewing methods suit different coffees, how to adjust variables for optimal extraction, and which beans align with your preferences.
Professional cupping also enhances your ability to communicate about coffee. Whether you’re helping customers choose beans or discussing coffee with fellow enthusiasts, precise vocabulary and trained palate make conversations more meaningful and productive.
The journey from casual coffee drinker to skilled cupper takes time and practice, but each session reveals new layers of complexity and enjoyment in your daily cup.
I’ve been curious about cupping for a while but always assumed it was something only professionals did in fancy roasteries. This broke it down in a way that actually made me want to try it at home this weekend. The tip about blind cupping to avoid bias was a lightbulb moment — I never realized how much I let a coffee’s reputation influence what I think I’m tasting. And that description of acidity as ‘biting into a fresh apple’ finally clicked something for me that no one has ever explained well. Bookmarking this one.
This comment genuinely made my week — thank you! That apple analogy for acidity is one I landed on after struggling to explain it to friends who kept confusing ‘acidic’ with ‘sour,’ so I’m really glad it landed. And yes — please do try it at home this weekend! Start with just two or three coffees side by side and don’t overthink it. The blind cupping tip is honestly the one that changed everything for me too. Once you remove the label, you start trusting your own palate instead of the bag’s marketing copy. Would love to hear what you discover — drop back in and let me know how it goes!